Sep 27, 2026 / By Lux Carbon / in Carbon Fiber Guides
Large carbon pieces can arrive with issues that were not visible in the listing: transport cracks, chipped corners, pinholes, missing brackets or a wrong body variant. The best time to document these is before removing protective film, drilling or bonding. This guide gives a repeatable arrival inspection that protects the buyer and makes a supplier conversation more precise.
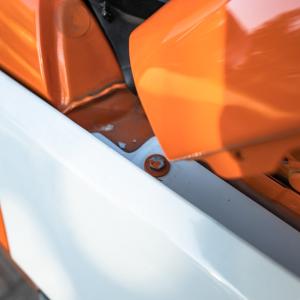
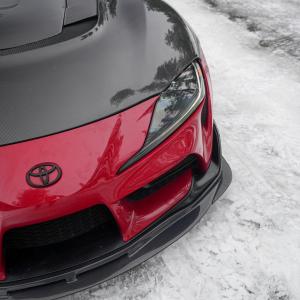
Start with the actual parts: browse relevant carbon parts. Photos below illustrate the topic; they do not prove the fitment or construction of any particular seller item.

Choose the component that matches the exact vehicle and installation conditions, then verify underside geometry, hardware and finish using real product photographs. Do not infer structural strength, aerodynamic performance or fitment from a carbon-look surface. The checks below show what evidence to request before paying and what to inspect before irreversible installation.
Record all sides of the outer carton, shipping label, crushed corners, punctures, water exposure and any “this way up” marks. Follow the carrier’s procedure for visible damage and keep packaging. Film the opening if practical, especially for long spoilers and diffusers packed near carton edges.
Do not discard foam blocks, labels or hardware bags until the entire kit is matched against the packing list. Photograph how each part was supported. This can help distinguish an impact during transit from a production or fitment issue.
Inspect under diffuse daylight after removing only the packaging required by the return procedure. Look for clear-coat scratches, orange peel, pinholes, resin-rich spots, fabric print-through, chipped gel coat and cracks. Some small surface variations are cosmetic; a jagged fracture, broken tab or exposed structural fiber is more serious.
Do not sand pinholes or add clear coat while the seller is reviewing a complaint. Repairs can obscure original condition, change return eligibility and make it harder to establish root cause.
Front glamour images often hide the decisive details: mounting tabs, bonded inserts, reinforcing ribs, unfinished edges and fixing holes. Use a phone light and photograph all these areas. Check for a crack radiating out of a bolt hole or a tab that flexes unusually when handled gently.
Compare left and right components and count every fastener, washer, clip, bracket and supplied template. A beautiful wing blade without its correct mounting hardware is an incomplete installation package.
Check the label against chassis, year, facelift, bumper package and product variant, including camera or sensor holes. Fitment should be verified with the unmodified part, according to the seller’s stated dry-fit and return policy. Do not strip factory paint or drill into the car merely to find out whether the part lines up.
Photograph contact points and gaps from several angles, with a ruler in one shot when useful. Distinguish between wrong product, possible manufacturing tolerance and a car modified by a previous owner.
Give order number, date received, part SKU or variant, courier details and concise descriptions of each defect. Attach wide photos to orient the part, macro photos to show damage and a picture of the measuring scale. State whether the product has been installed, modified or only dry-fitted.
Ask for the current damage-report and return procedure rather than relying on generic social-media advice about chargebacks or entitlement. Requirements depend on seller terms and applicable law. Avoid presenting unverified cause as fact: “crack visible upon opening” is stronger evidence than “factory defect” when the cause is unknown.
Keep a long carbon component supported across multiple points rather than resting it on a thin tip. Protect sharp corners and prevent loose hardware from moving against the glossy surface. Do not place heavy items on a spoiler blade or diffuser fin.
Arrange installation only after all pieces pass inspection and the mounting instructions are present. Take a final pre-fit photo set as a baseline for future care and warranty discussions.
| Check | Evidence to keep |
|---|---|
| Vehicle | Production year, version, market and current bumper or body specification |
| Part | Exact variant, dimensions, backside photos and supplied hardware |
| Material | Construction description, finish and intended exterior use |
| Installation | Manufacturer method, dry-fit photos and service clearance |
| After-sale | Shipping inspection record, current seller terms and return procedure |
Carbon Fiber Body Kits · Spoilers & Wings · Front Lips & Splitters.
Not automatically. Their significance depends on location, depth, specification and seller agreement.
Use only non-destructive dry-fit methods permitted by the seller; document damage first.
Do not modify a new disputed component before discussing the seller process.
It may affect attachment integrity and needs specialist or manufacturer assessment.
Outer packaging, label, whole part, defect close-up, ruler, backside and mounting area.
Keep it until inspection and any damage claim are resolved.
Use actual part and vehicle evidence to make the purchase decision. Confirm the full contents and installation method with the seller, preserve the original components when feasible, and stop work if the fitment or mounting is not as specified. The linked product categories show the currently listed choices; compatibility must be established for the exact item, not inferred from this editorial guide.
Reader-question context: owner discussion 1 · owner discussion 2 · owner discussion 3. These discussions identify recurring questions; they are not technical installation authority.
Oct 03, 2026 by Lux Carbon
Oct 03, 2026 by Lux Carbon
Cookie preferences