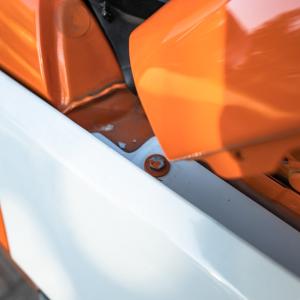
Oct 03, 2026 / By Lux Carbon / in Carbon Fiber Guides
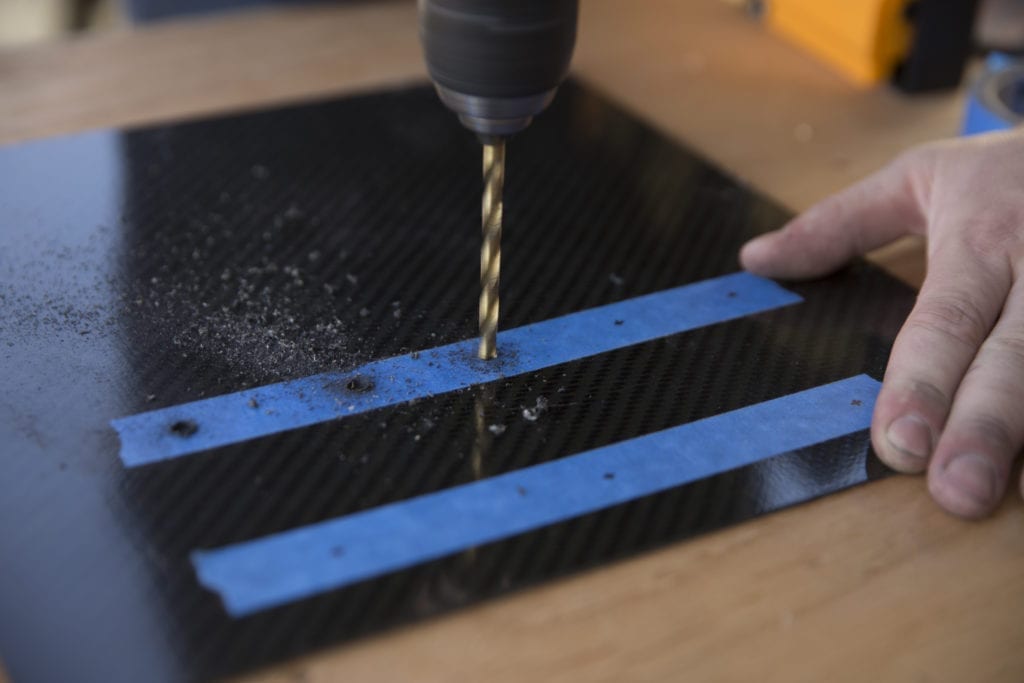
Drilling a carbon fiber lip, hood, diffuser or body panel looks simple until the first hole chips at the surface or the laminate begins to separate around the edge. Unlike sheet metal, a composite panel is made from fibers held in a resin matrix. A drill can cut those fibers cleanly, or it can catch and lift them, producing fraying, breakout or delamination.
If a replacement part already has factory-style mounting points, use them. Do not add holes simply because the panel sits a few millimeters away from the bumper; that can turn a fitment problem into permanent damage. Dry-fit first and read the panel-gap and warping guide before modifying the part.
For load-bearing mounts such as a pedestal wing, hood latch or structural bracket, the hole location and local reinforcement matter as much as drilling technique. A clean hole in an unsuitable area is still a bad mount.
Machining cured carbon composites creates fine dust from both fiber and resin. Do not treat cleanup as an afterthought. Use appropriate respiratory, eye and skin protection, local extraction where possible, and methods that keep dust from spreading through the workshop. The dedicated carbon-fiber dust safety guide covers setup and cleanup in more detail.
After drilling, the fastener must spread load instead of crushing the laminate around a small bolt head. Washers, backing plates, bonded inserts or well nuts may be appropriate depending on the part design. Read Carbon Fiber Fasteners: Torque, Washers and Inserts before tightening anything.
For general workshop planning, the existing Carbon Fiber Body Kit Installation Guide explains why drilling should come after a complete dry fit. Browse Carbon Fiber Fenders, Bumpers & Exterior Panels for the types of parts where accurate mounting geometry matters most.
Tape can protect the visible surface and reduce minor splintering, but proper backing, sharp tooling and controlled drilling are more important for the laminate itself.
That depends on the tool and final hole size. A small accurately located pilot can help with some setups, but repeated drilling with unsuitable bits can also add heat and edge damage. Follow the tooling manufacturer’s guidance.
Edge distance matters. A hole very close to a thin flange can weaken it or start a crack. Use the part maker’s mounting locations whenever they are provided.
Stop before tightening hardware. Whitening can indicate local resin damage, fiber movement or delamination and should be inspected before the area is loaded.
Oct 03, 2026 by Lux Carbon
Oct 03, 2026 by Lux Carbon
Cookie preferences